- Eclipse IDE for Java EE Developers Juno Release installed
Install SVN/Maven/Glassfish plugins:
- Help -> Install New Software...
- Install subclipse plugin (from: http://subclipse.tigris.org/update_1.8.x)
- install Eclipse WTP plugin (from: http://download.eclipse.org/webtools/repository/juno)
- install m2e - Maven Integration for Eclipse plugin (from: http://download.eclipse.org/technology/m2e/releases/)
- install Maven Integration for WTP plugin (from: http://download.jboss.org/jbosstools/updates/m2eclipse-wtp/)
- install GlassFish Application Server plugin (from: http://download.java.net/glassfish/eclipse/juno)
Maven build your project:
- svn check out a project from your svn repository
- in "Jave EE" perspective, "Project Explorer" window, right click on your project, "Configure -> Convert to Maven Project"
- From the top menu, "Run -> run configurations...", add a few maven commands:
- maven build (set goals as "package")
- maven rebuild (set goals as "clean package")
- maven clean (set goals as "clean")
- Check "Skip Tests" if you don't want to run unit test when you do maven build on your local machine
- Add maven command as "Run Favorites" in the "run" button:
- Select "mvn rebuild" from the green "run" button on the top tool bar to build your project
Set up Glassfish
- Open Servers Window: Window -> Show View -> Servers
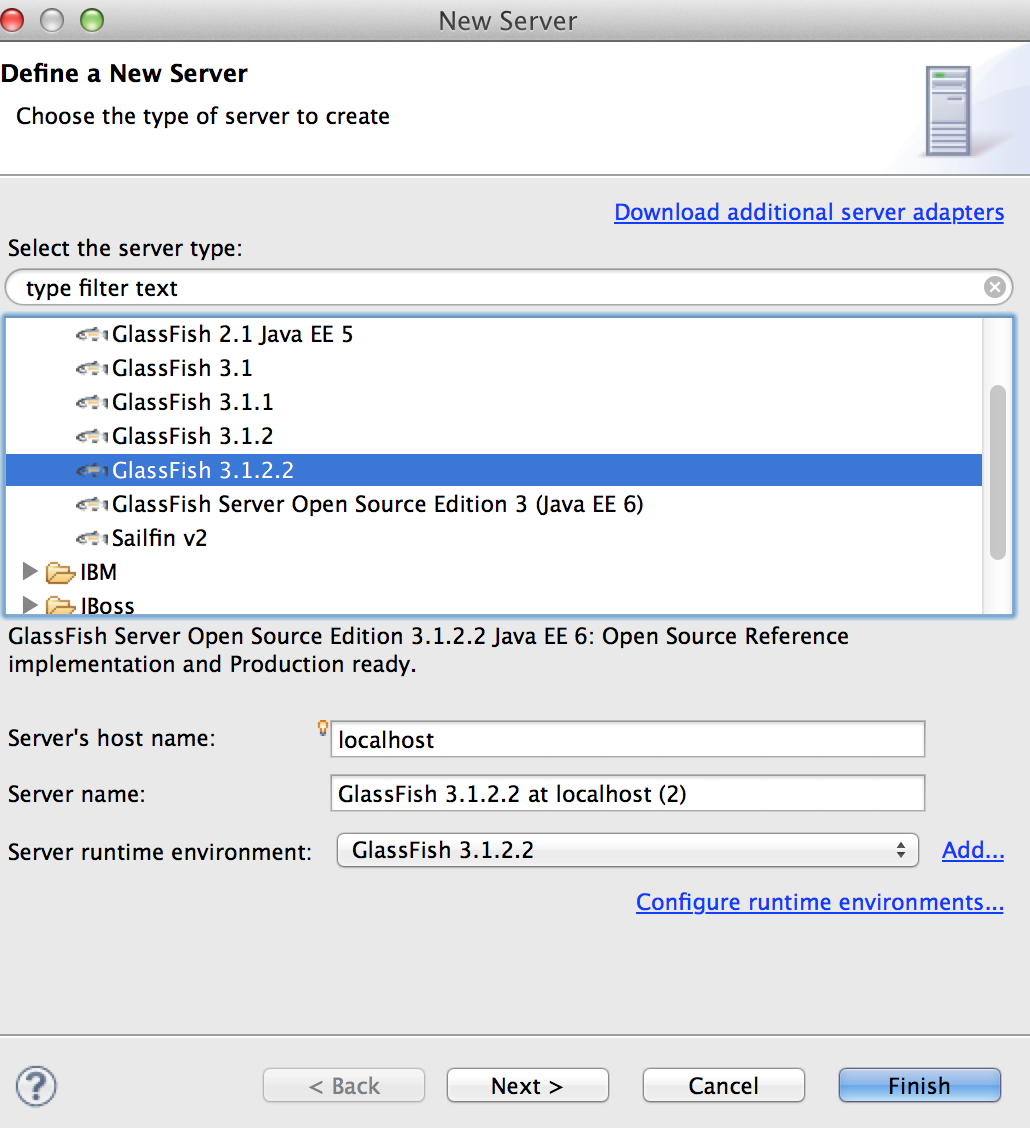
- Right click in the severs window to add a new server
- Choose a glassfish domain for the server
Deploy project on glassfish
- in "Jave EE" perspective, "Project Explorer" window, right click on your project, "Run As -> Run on Server".
- From top menu: Run -> Debug Configurations... -> Remote Java Application -> New
- Make sure you put in the correct host name and glassfish debug port (in my case: localhost and 8099)
- Click on "Debug" button to start debugging.


Congratulations Joe! Thank you so much for taking the time to share this exciting information.
ReplyDeleteRead More